今次寫了這個蟹殼黃的博文主要是方便自己日後懂得做這個小點。之前在外面買過急凍了的蟹殼黃來吃,味道也算不錯的,但也不及這些新鮮做的好吃。想不到原來蟹殼黃是這麼容易做喔!老媽說,這個食譜特別之處是在水皮中加進酵母。。。 我把完成了的作品照片傳了給公司的老闆娘看,她要我翻譯一個英文的食譜給她!這次真是汗顏了。。。。
材料 Ingredients:
水皮 Water-Based Dough (Make 30):
中筋麵粉 All Purpose Flour 250g
溫水 Warm Water 125g
豬油 Lard (sub. w/ Shortening) 50g
酵母 Dry Yeast 2g
糖 Sugar 10g
油皮 Oil-Based Dough (Make 30):
低筋麵粉 Cake Flour 190g
豬油 Lard (sub. w/ Shortening) 90g
內餡 Filling:
蔥花 Green Onion 400g
鹽 Salt 2/3 teaspoon
黑白胡椒 Black & White Pepper 1/2 teaspoon each
豬油 Lard (sub. w/ Shortening) 50g
雞粉 Chicken Bouillon Powder Optional
表面 Surface:
糖水液 Water-Sugar Liquid 1:1
白芝麻 White Sesame
先把蔥段洗乾淨,用廚房紙吸乾水份。
Clean the green onions, and dry them with kitchen paper.
切粒備用。
Chop them into small pieces.
切好了的蔥粒千萬不要立即與調味品混和以免出水。最好放在室內「風乾」多一會。
DO NOT add seasoning right way, let it sit and dry for a bit more under room temperature.
先來做水皮。。。
Let's start with the water-based dough first.
除了溫水和豬油,先把所有粉狀材料放在 food processor 內搞拌十來秒。
Put all powdery ingredients into a food processor and mix for about 10 seconds. DO NOT add warm water and lard in this stage.
這樣可使麵粉更加鬆泡泡。我問過母親大人為什麼不用 sifter,她好像說這個比較快捷。
This is to make the flour more fluffy. We don't need to use a sifter if we are using a food processor.
之後加進豬油和溫水,搞至剛剛成型就要停了。如果搞拌得太久,麵糰容易起筋那就不堪設想了!
Add warm water and lard into the food processor, mix until a dough is 'slightly' formed. Key Point: DO NOT over mixed the dough, we don't want to encourage the dough to develop gluten.
現在做油皮。。。動作要快,因為不能讓水皮過度發酵。水皮發酵超過三十分鐘也是十分哇呱的。。。。
Now, let's move on to the oil-based dough. We don't want the water-based dough to ferment too much since yeast was added, so we need to finish this one fast.
做油皮的低筋麵粉這回就要用 sifter 而不是用 food processor 了!這是由於低粉內往往會有一些成了粒狀的豆粉,用 food processor 不能把它均衡地搞碎,所以一定要用 sifter。
Use a sifter instead of a food processor this time. This is to smooth out all crumbles that is inside the cake flour, which a food processor can't do.
用 sifter 一定要拿高一點,好等空氣能夠混進低粉中。
Hold the sifter a bit higher from the table and sift, so that air can get inside the flour.
把低粉與豬油放進 food processor 中搞均。我家沒有 food processor,所以做糕點的時候往往要用手揉。。。實在非常不方便!
Pour cake flour into the food processor together with lard and mix well.
搞至豬油和低粉混和就可以停了。與水皮一樣,這個低粉不用搞太久的,剛剛形成就可以停了。
Mix until these two ingredients slightly started to bind, again, DO NOT over mix.
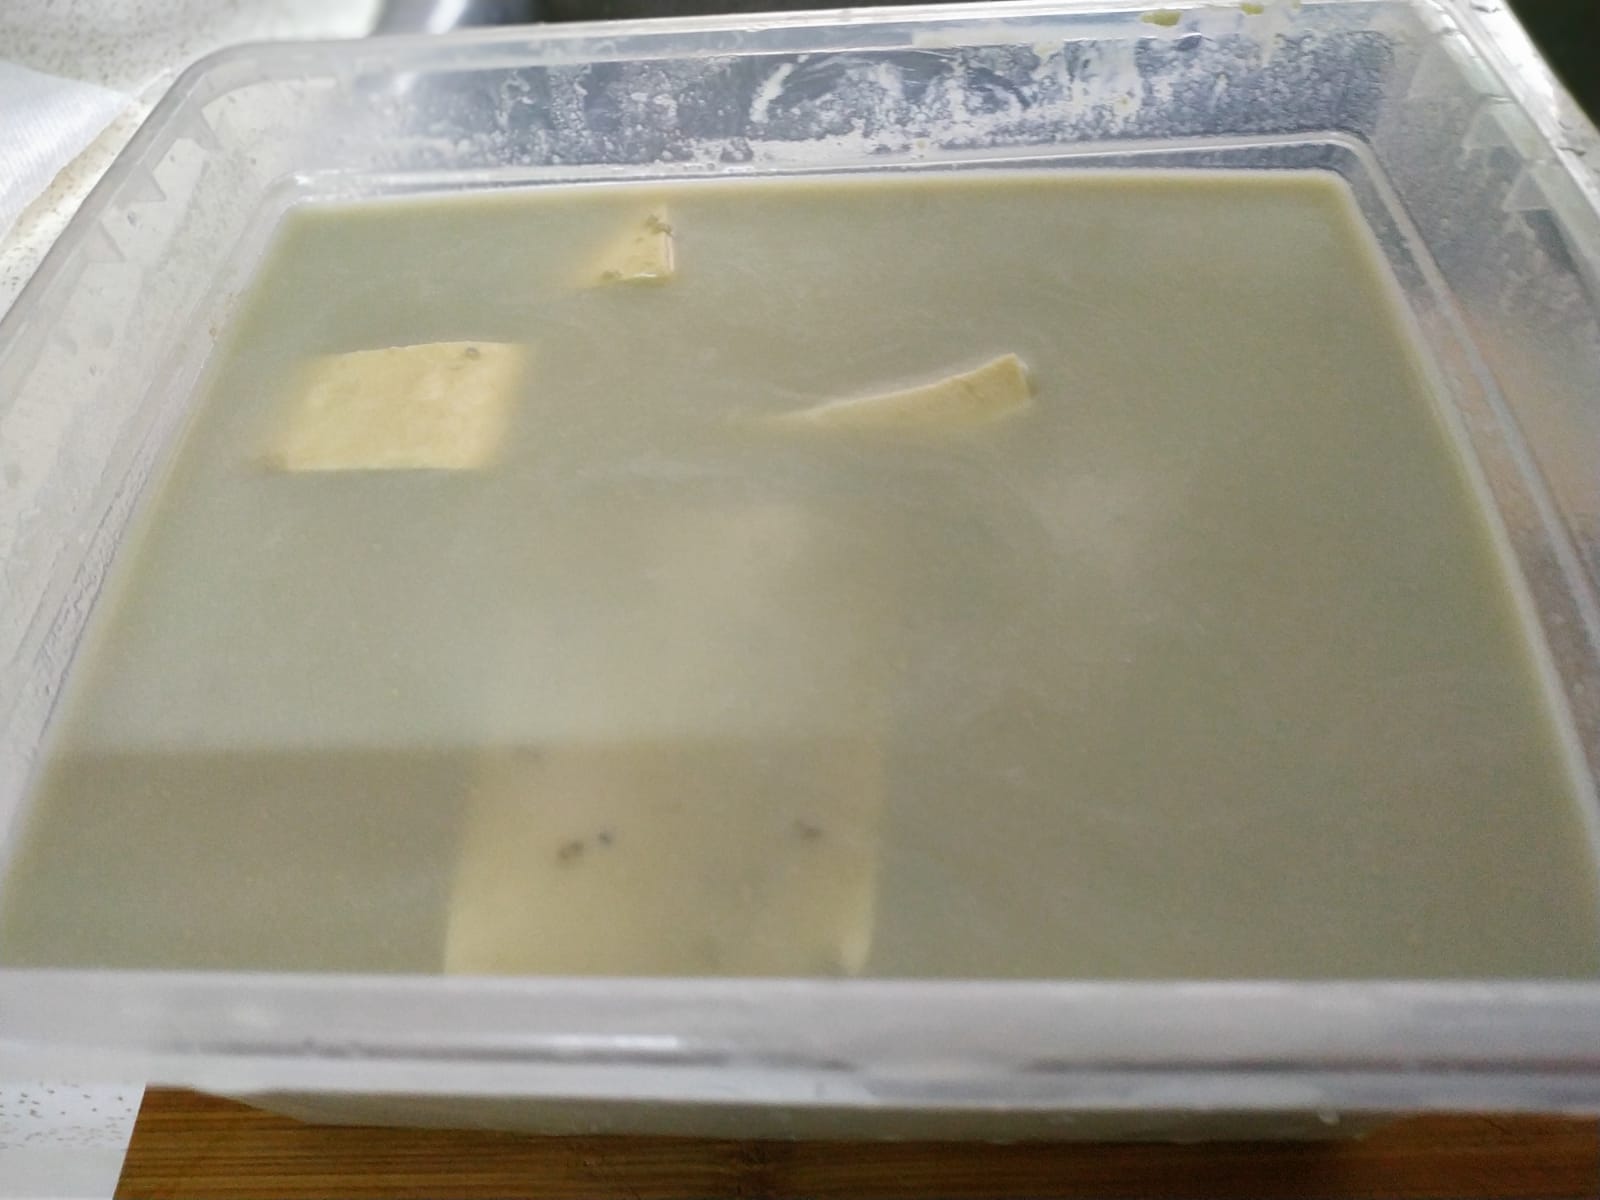
用保鮮紙把水皮和油皮包起來。看!!下面的水皮已經開始不受控制地發酵了!!對了,油皮做好後也要放在室溫等大概三十分鐘的。
Let both dough rest for about 30 minutes...even 15 minutes is fine in my experience, the water-based dough has already over fermented in the picture shown above.
把所有調味料放進蔥粒裡混和。這個步驟最好等到最後才做,因為蔥粒非常容易出水,太濕的蔥粒難以使水油皮埋口。
Wait until the very last minute, mix all seasonings with your green onions.
最艱鉅還是要使豬油平均地混到蔥粒裡!混太久蔥粒便開始出水!混帳!!!
This is to avoid having green onions becoming too watery. Once it gets watery, it's hard to wrap...
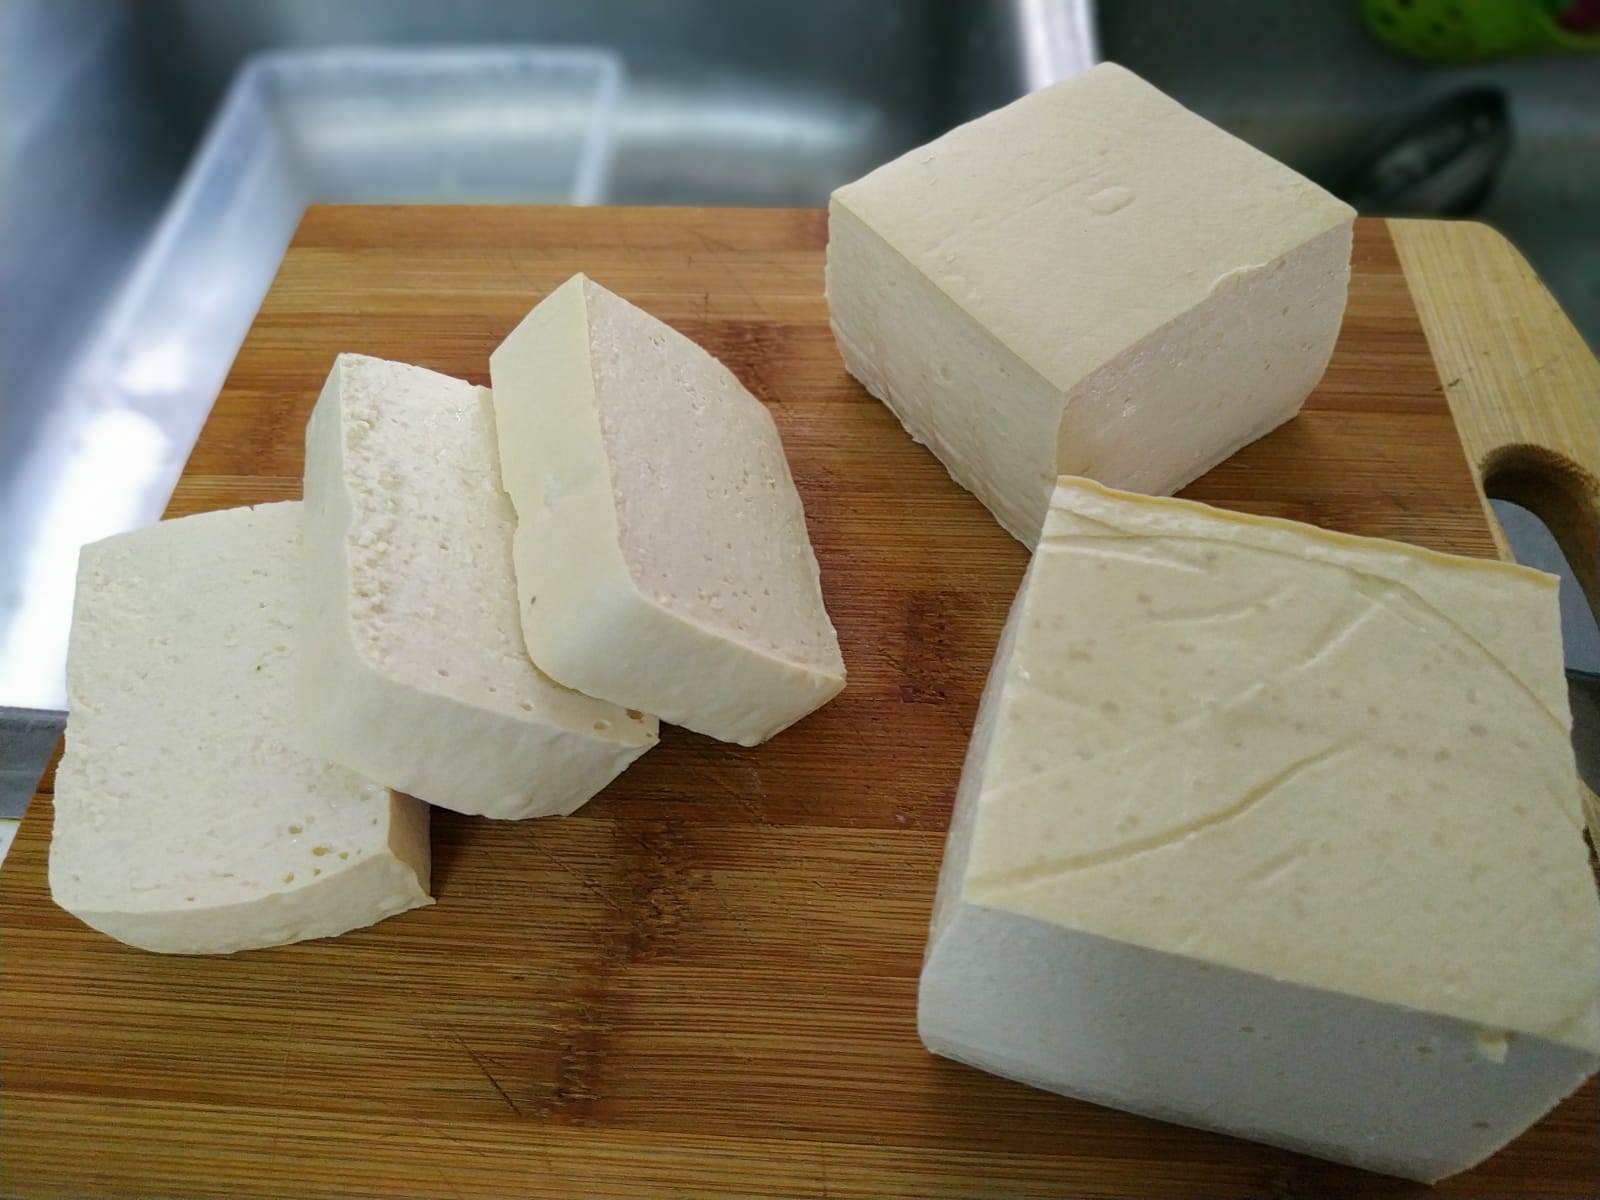
水皮,油皮各平均分成三十個等份。我覺得三十個其實真的太多了,做出來的蟹殼黃的確細得可憐!分二十五個反而大細刻到好處!
Divide water-based and oil-based dough into 30 counts evenly. I personally think it's best to divide them into about 25 counts, it's easier to work with.
與時間競賽的時候到了!!水皮開始過度發酵變成豬頭。。。可惜不能揉!!不管了,先把水皮包住油皮才算!注意:包好了的粉團皮很快乾,所以建議把濕布蓋在上面。
Wrap the oil-based dough with the water-based dough (oil-based dough stay inside) and roll it into a ball. These dough dry up easily, so cover all unused dough with a damped cloth to keep them moist.
包到最後一粒粉團時,第一粒包完的傢伙都已經 rest 夠了!我把它壓平再用麵粉棒「顏」開。老媽說不用把粉團壓平的,因為這樣會容易扁不能起酥。。。一個粉團頂多不能「顏」多過四,五下。。。好複雜呢!
After finished wrapping all 25 dough, start with the very first one and roll it out as picture shown above. Press it gently, otherwise this pastry won't puff!
「顏」開後再捲在一起。
Roll it up like the picture shown above. Do all of them in one roll so that the first rolled dough has a bit time to rest. Remember, always cover the unused 'dough' with a damped cloth to keep them moist.
打棟放再「顏」開,開口向上。。再捲在一起。我貪快一次過「顏」三粒粉團,結果被老媽省到飛天!!她說快沒用的。。。。要慢工才出細貨! 對。。。但粉團已經乾到爆裂喔!!
Start with the very first rolled dough, put it vertically and roll it out again, the opening (of the dough) has to face up....and roll it up like picture shown above. Be gentle and don't press it too hard.
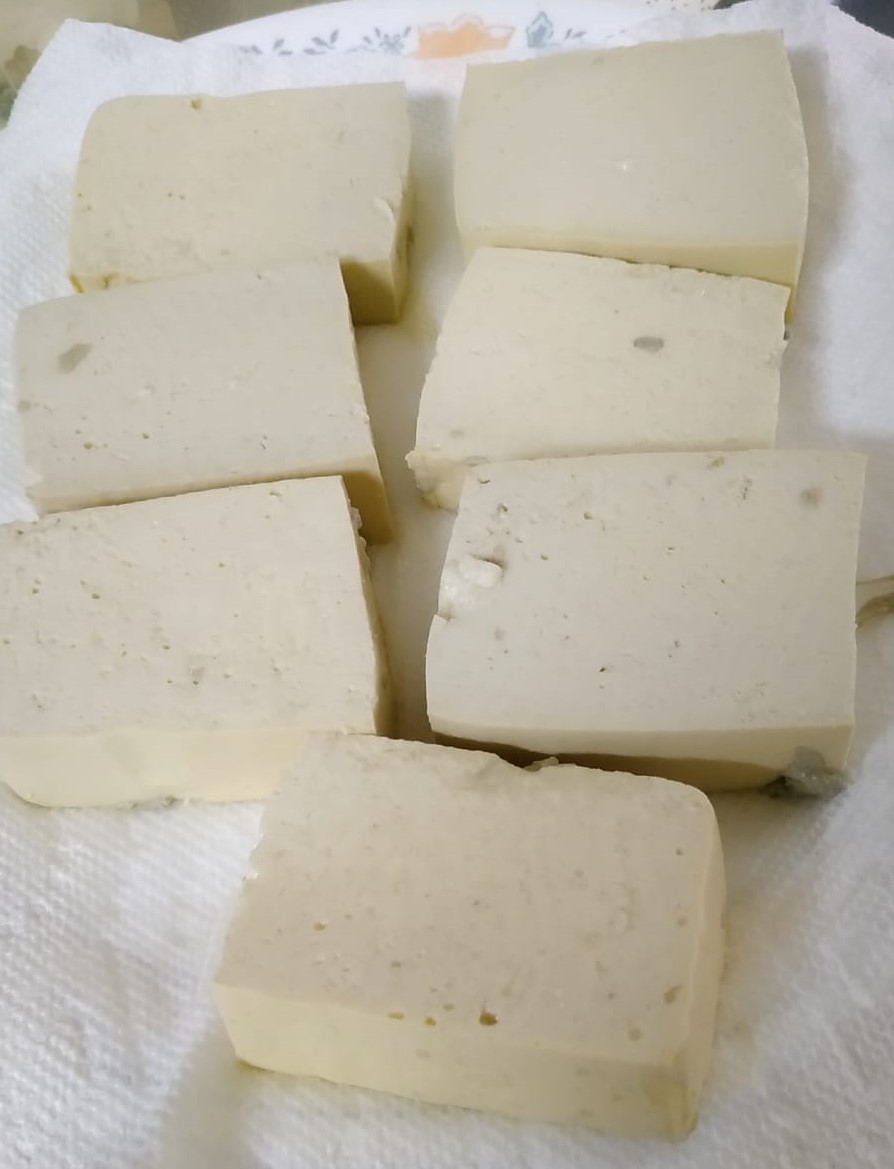
終於做好了!!
All done! =)
手指在粉團中間的開口處壓一下,然後把兩邊再往內壓去。
Grab a rolled dough, lay it down with opening facing up, press in the middle with a finger, and squeeze both ends towards each other (That's the best wordings I can think of....LOL!).
要做得很快手,因為一邊做一邊可以感到粉團變得越來越乾。。。
You have to do this quick because the dough is drying up fast.
把粉團「顏」開,可以見到一點點的層次。
Flatten it a little, and roll it out as picture shown above, about 2-3mm thick. You can slightly see the layers once you've flattened the rolled dough.
個人覺得粉團每次去到新的步驟都要 rest 一會的,因為不 rest 的話粉團就會變得有點硬,難以處理,所以我通常都是由第一粒粉團開始做到尾,然後再由第一粒開始再處理,這樣 resting 時間足夠,粉團也變動很鬆弛(你明白我在說什嗎?我開始遊魂了)。
Each dough need a little time to rest after you've finished working on it, so I will start with dough #1, and ends at #25; then I start all over again from #1 and work my way through. In this case, each dough will have enough resting time.
包蔥。。。還未出水的蔥粒還好,出了水就非常麻煩了!食譜說蔥的份量為400g,如果可以則預備多一點吧,根據我經驗,400g 蔥是不夠的。。。。至少還要多兩條蔥。不過記得增加蔥粒後也要加進適量的調味。
Now begin with the fillings. I personally think 400g of green onion is not enough to wrap all these 'buns', so my suggestion is to prepare some more green onions ahead of time, half a bunch will be enough. Remember to add additional seasonings if you have more than 400g of green onions.
粉皮開始乾,看邊邊位就知道。。。而且蔥又不夠,所以最後這幾個製成品實在讓我們包到有點火滾!我想多拍幾張稍微可以出得場面的照片也沒有機會,只好。。。
Wrap it up by pulling the edge together. If the green onion starts to get all over the place, use your thumb and press it down towards the centre while you wrap.
完成了。。。。。
Finally....
糖,水液,主要是使蟹殼黃的表面容易沾上芝麻,吃下去感覺甜甜地的。糖和水的比例是 1:1, 建議這個在開始偉大的工程前準備好。
Water - sugar liquid ratio is 1:1, dissolve sugar in water. This is for easy coating, and it also brings a slight sweetness to the pastry itself. Just prepare a small bowl of liquid is enough, and I suggest you to prepare this ahead of time.
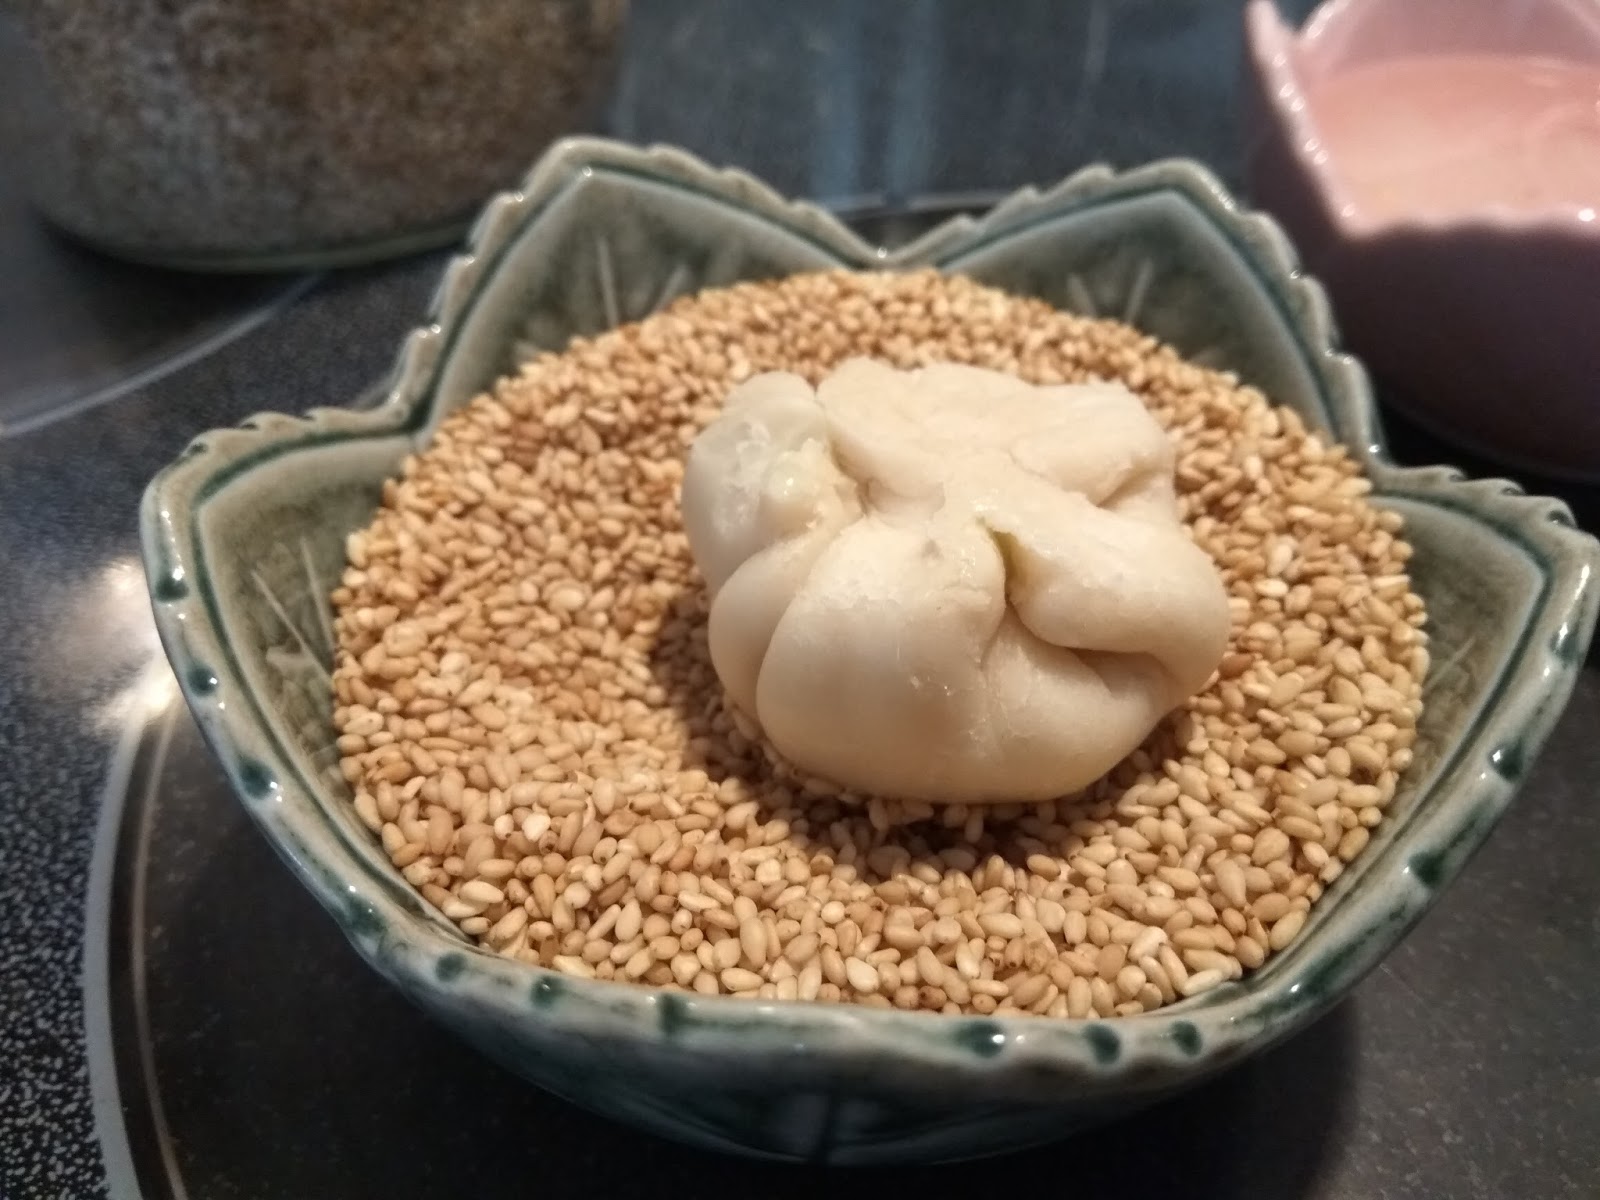
。。。。我通常在沾完糖水後都會用布抹一抹的,不想表面太濕。。。
Hold the ball upside down, dip half of it into the liquid, then coast it with white sesame.
最後這個步驟非常簡單,所以可以做得很 turbo。。。
The last step is very easy to do, so we can do it really quick!
放在焗爐中以 375度烘十八到二十分鐘,致表面金黃便完成了!
Preheat oven and bake at 375 degree Celsius for 18-20 minutes until golden brown.
完成了。。。。樣子好像有點那個。。。。。第一次做的時候成品比較好一點。
Done....
真的非常那個。。。
The outcome doesn't look as good as last time my Mom made them.....
這是之前的作品。。。看上去是否感覺順眼一點呢?!顏色也特別豐富,是因為用了 foodie 的特效。
There pictures are from my previous batch. I took them with the 'foodie' mode from my cell phone to make the finished product look more vivid.
這盤總共做了二十五個。由於蔥不夠,所以有幾個加進其他餡料的。
I have made 25 counts here, I have substituted some of the filling with other ingredients because I don't have enough green onion.
咬開中間除了見到蔥外,其實也應該見到一層層鮮明的酥皮油皮。。
This is how it looks inside, the pastry should be in layers.
哇哈哈哈哈。。。。。黑白素描效果!
LOL! Having fun with another camera mode....